Most degraded land didn't get that way overnight. It took years — sometimes decades — of chemical inputs, overgrazing, bare soil, and erosion to strip away what took nature thousands of years to build. The good news is that soil can recover. The process of learning how to improve poor soil naturally is one of the most empowering things a farmer, homesteader, or land manager can do — and it doesn't require expensive inputs or industrial machinery.
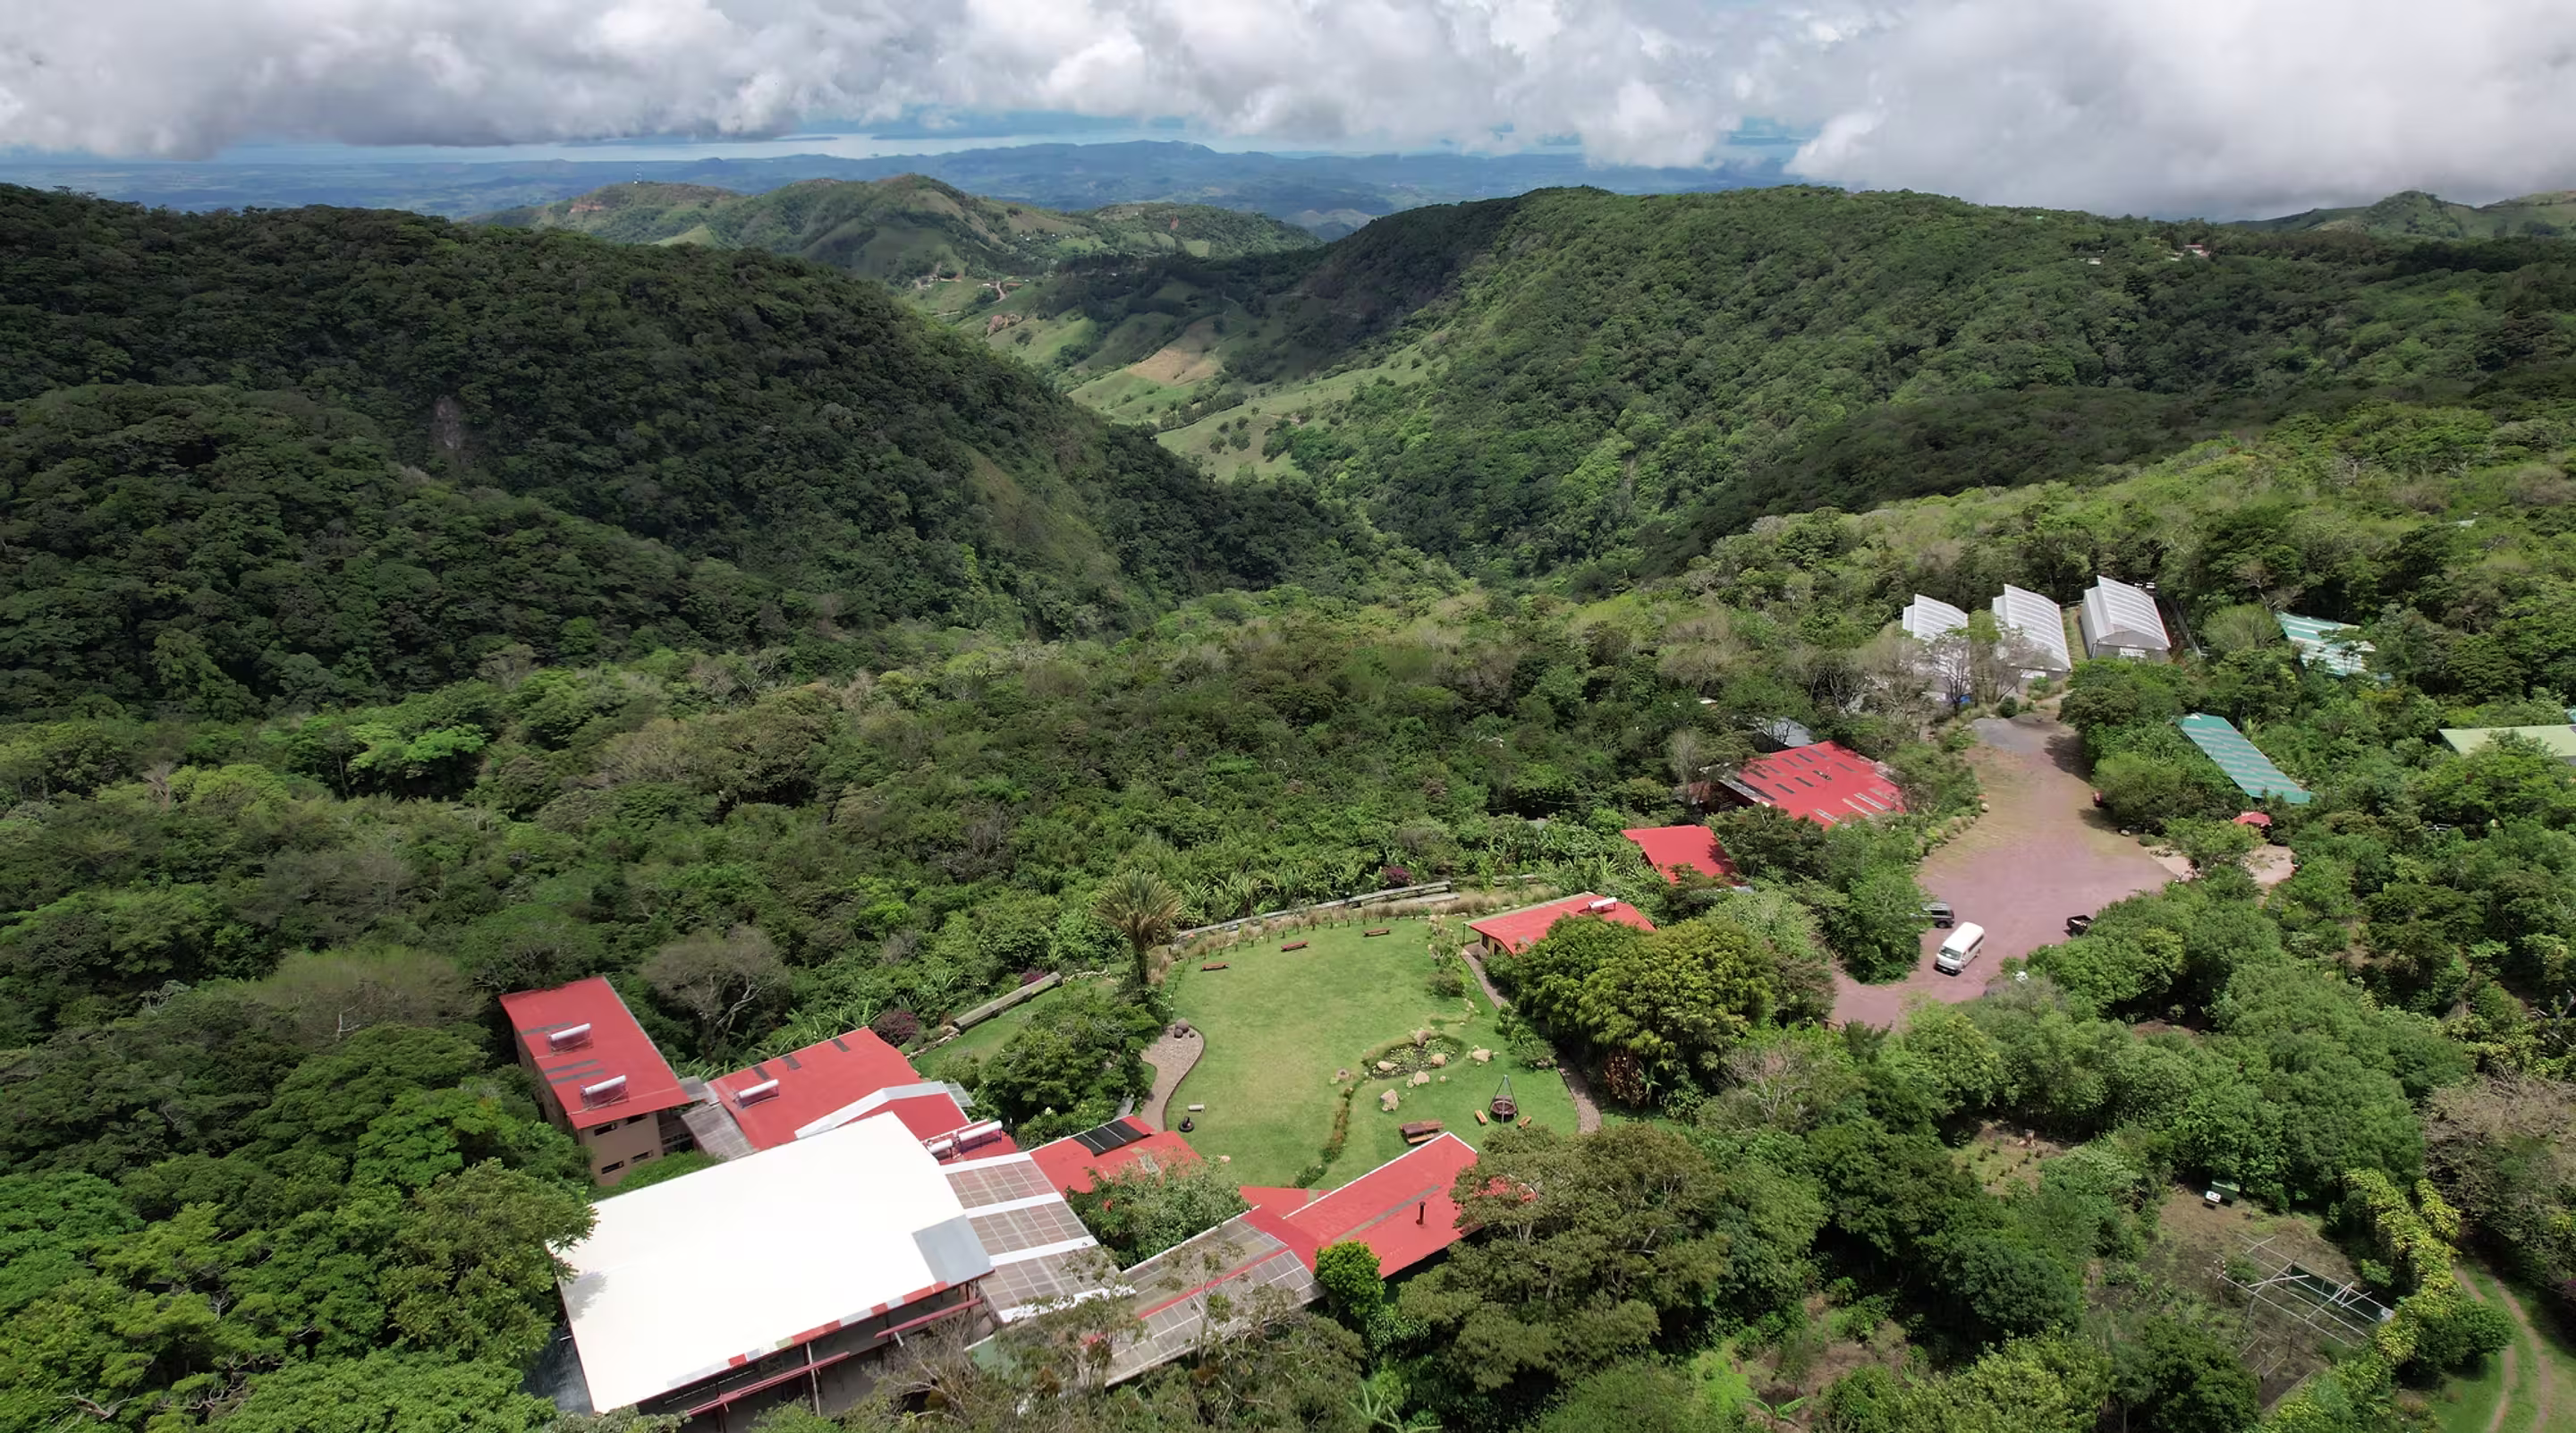
This guide covers the key principles and practical techniques that actually work. The examples come from real systems — including the regenerated soils at Valle Escondido, a 17-hectare cloud forest farm in Monteverde, Costa Rica, where degraded pastureland has been transformed into productive, biodiverse food systems over two decades.
"Healthy soil isn't just dirt. It's a living ecosystem — more organisms in a teaspoon of healthy soil than there are people on Earth. When you understand that, you stop trying to 'fix' soil with chemicals and start learning how to feed the life that's already there."
— Allan Campbell, permaculture educator, Valle Escondido
Why Most Soil Improvement Advice Fails
The typical approach to poor soil is to add fertilizer. The reasoning sounds logical: the plant needs nitrogen, so add nitrogen. The plant needs phosphorus, so add phosphorus. This works — in the short term. But it's treating a symptom, not the cause.
The root cause of most poor soil is biological death. Conventional agriculture — tilling, chemical inputs, bare soil — destroys the fungal networks, bacteria, and soil organisms that naturally cycle nutrients, hold water, and build structure. You can add as much synthetic fertilizer as you like, but if the soil biology is gone, the system becomes dependent on those external inputs forever. Remove the fertilizer, and yields collapse.
Real soil regeneration means rebuilding the biology first. When the biology is healthy, the soil feeds itself. Nutrients cycle naturally. Water infiltrates and is retained. Plants grow without external inputs. That's the goal — and it's achievable on any scale.
Step 1: Diagnose Your Soil Before You Do Anything
Before spending money or energy on soil amendments, understand what you're working with. Good diagnosis saves months of wasted effort.
Here are three simple tests you can do without a laboratory:
The jar test tells you your soil texture. Fill a jar with soil and water, shake vigorously, and let it settle for 24 hours. Sand settles first (bottom layer), then silt, then clay (top layer). A healthy loam will have roughly equal layers. Heavy clay or pure sand tells you what you're working with.
The worm test is the most reliable indicator of soil health. Dig a hole 30cm deep and 30cm wide. Count the earthworms. Fewer than 10 worms means your soil biology is struggling. More than 30 means you're in decent shape. No worms at all means the soil is essentially dead and needs serious biological intervention.
The compaction test uses a metal rod or screwdriver. Push it into the soil with your thumb. If it penetrates easily to 15cm, your soil structure is reasonable. If it stops at 5cm, you have serious compaction that's preventing root development and water infiltration.
At Valle Escondido, incoming student sites often have compaction layers from years of cattle grazing or monoculture. Before any planting, we map the compaction zones and design the initial intervention around breaking those layers — using a combination of deep-rooted plants, subsoiling, and biological inoculants.
Step 2: Stop the Damage First
You can't regenerate soil while the processes that degraded it are still ongoing. This sounds obvious, but it's a step many skip.
Stop tilling. Every time you till, you destroy fungal networks that took years to build, bring weed seeds to the surface, expose organic matter to rapid decomposition, and compact lower layers. The short-term gain in seedbed preparation costs far more in long-term biology loss. No-till is not just a technique — it's a fundamental shift in how you relate to soil.
Stop leaving soil bare. Bare soil is not a neutral state. Under direct sun, soil temperatures can exceed 60°C, killing surface organisms. Rain compacts bare soil, sealing the surface and preventing infiltration. Wind erodes the top layer, which is the most biologically active. Cover your soil always — with plants, mulch, or both.
Stop using broad-spectrum chemicals. Herbicides, fungicides, and many pesticides kill non-target soil organisms. Glyphosate, for example, is a chelating agent that binds minerals in the soil and disrupts the bacteria that make those minerals available to plants. You may kill the weed, but you're also killing the system the next plant will depend on.
Step 3: Add Organic Matter — the Right Way
Once you've stopped the degrading processes, it's time to feed the soil biology. Organic matter is the foundation of everything. It feeds bacteria, fungi, and soil organisms. It holds water. It creates the structure that allows roots to penetrate and air to move through the soil profile.
Composting: the core input
Good compost is not just rotted organic matter — it's biologically active organic matter, teeming with beneficial organisms that immediately start rebuilding your soil ecosystem. The difference between biologically active compost and dead organic matter is enormous in terms of soil impact.
To make biologically active compost you need: a carbon-to-nitrogen ratio of roughly 25:1 (more browns than greens), adequate moisture (like a wrung-out sponge), and regular turning to maintain aerobic conditions. At Valle Escondido, we make compost from kitchen scraps, plant prunings, wood chips, and animal manure. A good pile heats up to 55–65°C within days — a sign that the biology is active.
Mulching: protect and feed simultaneously
Mulch does several things at once: it suppresses weeds, retains moisture, moderates soil temperature, and — as it decomposes — feeds soil organisms from the top down. This mimics how natural forests feed themselves: through leaf litter and surface decomposition, not through tilling organic matter in.
The best mulch materials are wood chips, straw, leaves, and chipped branches. Apply at least 10cm deep around plants. Avoid fresh grass clippings in large quantities — they can mat and create anaerobic conditions. At Valle Escondido, we use wood chips from tree pruning throughout the system. The chips take 12–18 months to fully break down, but the fungal activity they support begins within weeks.
Cover crops: living mulch and biology builders
Cover crops — plants grown specifically to improve the soil rather than for harvest — are one of the most powerful tools in soil regeneration. Different cover crops serve different functions:
- Legumes (beans, clover, vetch) fix atmospheric nitrogen through root nodule bacteria, adding fertility without external inputs
- Deep taproots (daikon radish, tillage radish) break compaction layers mechanically and, when they decompose, leave channels for water and root penetration
- Dense root systems (rye, oats, sorghum) add massive organic matter, support mycorrhizal fungi, and protect soil from erosion
- Aromatic plants (phacelia, buckwheat) attract beneficial insects and support soil biology through root exudates
Never let soil sit bare between crops. If you're not growing a cash crop, grow a cover crop. In the tropics, cover crops can be in the ground year-round with a rotation between functional species.
Step 4: Inoculate the Biology
If your soil biology is severely depleted, adding organic matter alone may be slow because you're waiting for the organisms to arrive naturally. You can accelerate regeneration significantly by directly inoculating beneficial organisms.
Mycorrhizal fungi
Mycorrhizal fungi form symbiotic relationships with plant roots, extending the root network by up to 100 times. They dramatically improve nutrient uptake (especially phosphorus), increase drought resistance, and connect plants in the network that forest ecologist Suzanne Simard famously called the "wood wide web." Most agricultural soils have essentially no mycorrhizal fungi left after decades of tilling and fungicide use.
You can inoculate transplants directly at planting using commercially available mycorrhizal inoculants, or you can make your own using soil from a healthy, established forest ecosystem. At Valle Escondido, we collect soil from the undisturbed forest sections and mix it into planting holes and compost, transferring the existing biology.
Effective Microorganisms (EM)
EM is a liquid culture of beneficial microorganisms — primarily lactic acid bacteria, photosynthetic bacteria, and yeasts — that can be applied to soil, compost, and plant material. Regular EM application accelerates organic matter decomposition, suppresses pathogenic organisms, and improves nutrient cycling. At Valle Escondido, we apply diluted EM weekly to garden beds and monthly to pasture areas.
Biochar: a long-term amendment
Biochar — charcoal produced from organic material through low-oxygen burning — is one of the most powerful long-term soil amendments available. A single application can improve soil structure, water retention, and biological activity for decades. Unlike compost, biochar doesn't decompose; it creates permanent habitat for soil organisms.
The key is to charge the biochar before application. Dry biochar applied directly to soil can initially reduce fertility by absorbing nutrients. Charge it first by soaking in compost tea, liquid fertilizer, or diluted EM for 2–4 weeks before applying at 5–10% by volume in planting areas.
Step 5: Plant Diversity Drives Soil Diversity
Soil biology follows plant diversity. Different plants support different communities of bacteria and fungi through their root exudates — the chemicals they secrete into the soil. A monoculture supports a narrow biology. A diverse planting supports a complex, resilient ecosystem.
At Valle Escondido, our most biologically active soils are under the food forest sections — where dozens of species at different canopy levels are growing simultaneously. The most degraded soils are under the remaining monoculture sections that we're still in the process of transitioning.
Practical guidance: Aim for at minimum 8–10 species in any planted area. Include trees (which support deep fungal networks), perennial herbs (which provide year-round root exudates), annual vegetables (which provide rapid organic matter), and cover crops (which provide nitrogen and structure). Even a small increase in plant diversity creates measurable improvements in soil biology within a single season.
How Long Does Soil Regeneration Take?
This is the question everyone asks, and the honest answer is: it depends. You will see changes within the first growing season — better water retention, more earthworm activity, improved plant health. The more significant structural improvements — fungal network establishment, stable organic matter increase, compaction resolution — take 3–5 years of consistent practice.
At Valle Escondido, soils that were compacted, eroded cattle pasture when the farm was established in the early 2000s now support productive food forest systems. That transformation took 10–15 years of consistent biological management. But the direction of change was visible from year one — and that directional progress is what matters most when you're working with degraded land.
The Fastest Path to Soil Regeneration
If you want to compress the timeline as much as possible, the most effective combination is: stop tilling + permanent mulch + diverse cover crops + compost application + mycorrhizal inoculation. This combination addresses every limiting factor simultaneously — it stops the damage, adds organic matter, feeds the biology, and builds structure.
No single technique works in isolation. Composting without stopping tillage is like filling a bucket with holes in it. Inoculating biology without providing organic matter for it to eat is equally futile. The system approach — addressing multiple factors at once — is what produces transformative results.
Learning Soil Regeneration by Doing
Reading about soil regeneration is a starting point. The real learning happens when you get your hands in the soil — when you observe how different amendments affect plant growth, when you watch earthworm populations recover, when you dig into a compost pile and understand the signs of healthy decomposition.
That's exactly what the Permaculture Design Certificate at Valle Escondido provides. Students spend two weeks working with real degraded soils, applying composting techniques, building swales, and learning to read the landscape — not just studying theory, but practicing regeneration on a working farm. By the end, you have the hands-on skills to genuinely transform any degraded piece of land.
If soil regeneration is something you want to understand deeply — and apply in your own context — start with the principles behind the practice, or get in touch with us directly to learn about the next PDC cohort.